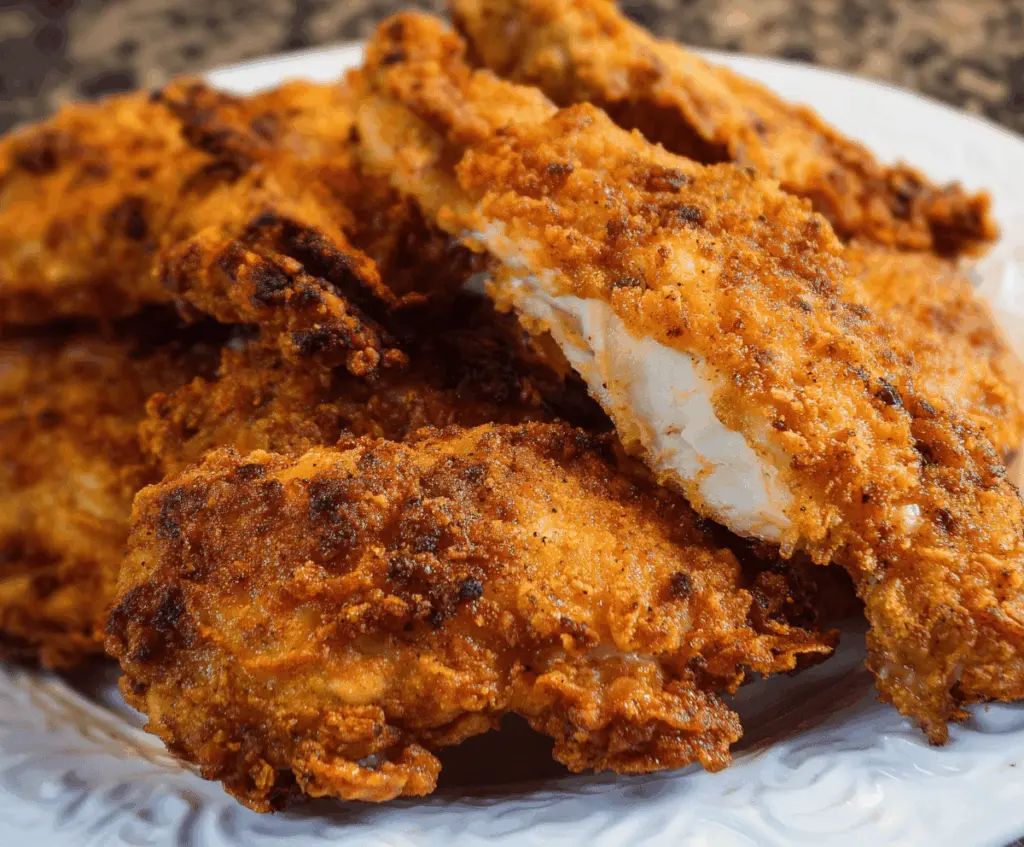
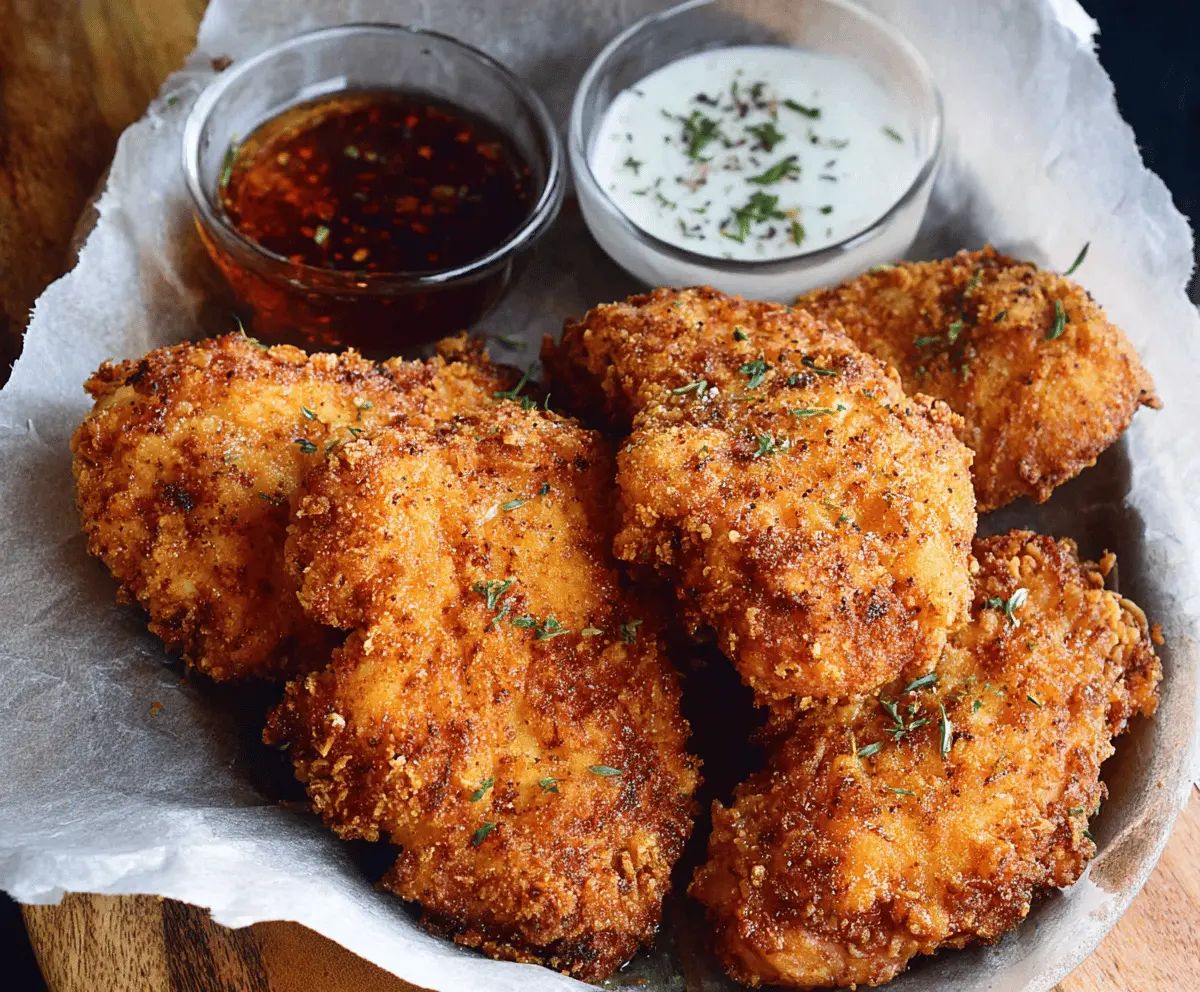
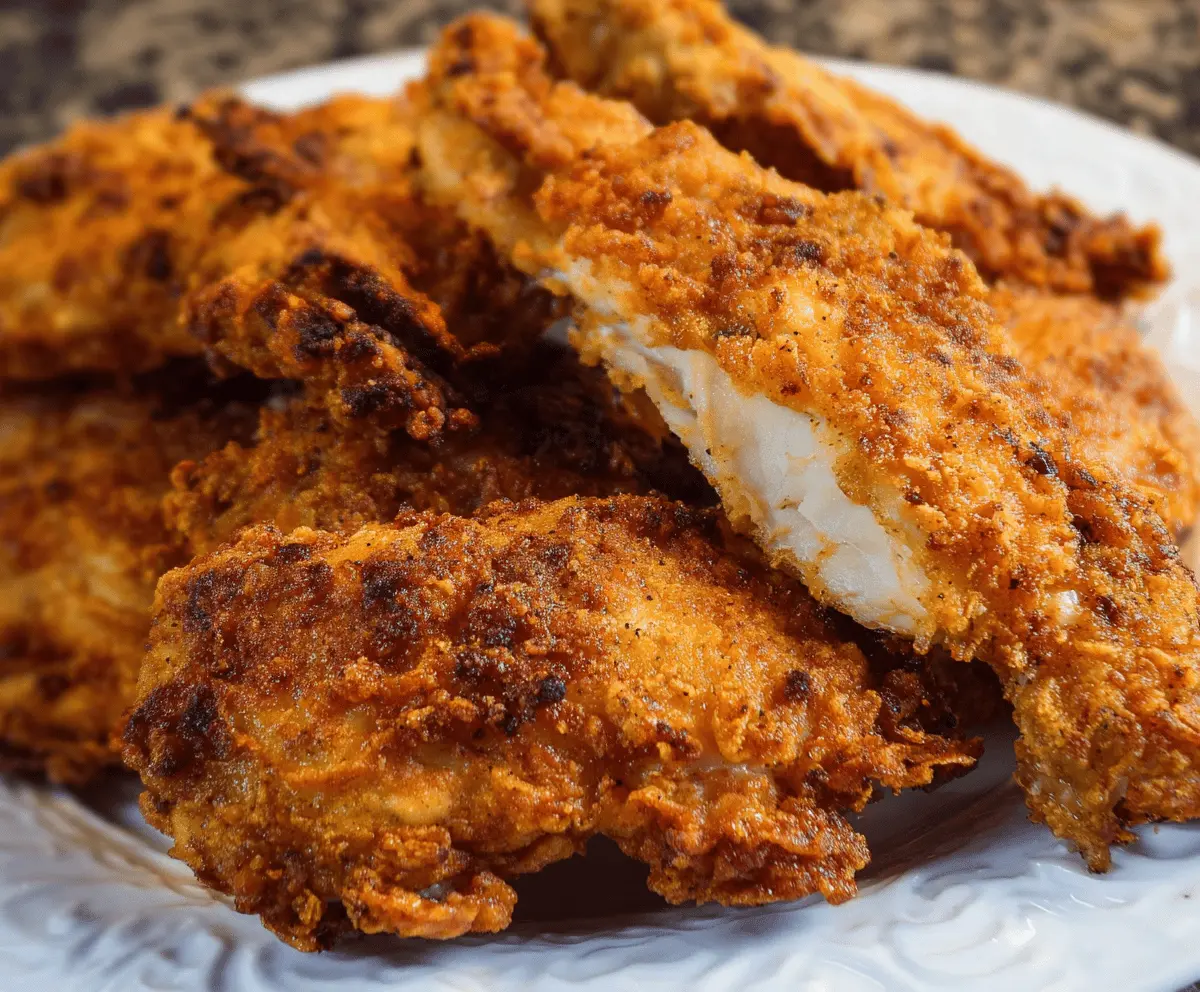
This oven-fried chicken is crispy and juicy, giving you that satisfying crunch without all the frying mess! It’s seasoned just right to make your taste buds dance.
Seriously, I could munch on this chicken for every meal! Perfect with some mashed potatoes or a fresh salad. Easy to make and even better to enjoy with family and friends! 🍗✨
Key Ingredients & Substitutions
Chicken: Drumsticks, thighs, or breast strips work great. You can try skinless chicken for a lighter option, but with skin, you’ll get extra crispiness!
Buttermilk: It’s key for flavor and tenderness. If you’re out of it, make your own! Combine 1 cup of milk with 1 tablespoon of vinegar or lemon juice and let it sit for 5-10 minutes.
Flour: All-purpose flour is standard, but for a gluten-free option, use a certified gluten-free flour blend. You can also mix in some cornstarch for extra crunch if you like.
Cayenne Pepper: This adds a bit of spice. Feel free to adjust the amount or omit it entirely if you prefer a milder chicken. You could also use regular paprika for a more subtle flavor.
Herbs: Oregano or thyme add depth of flavor; feel free to switch them out for your favorite herbs, like rosemary or Italian seasoning.
How Do I Make Sure My Chicken is Extra Crispy?
The secret to crispy oven-fried chicken starts with the marinating process. Using buttermilk not only flavors the chicken but also tenderizes it. Make sure to coat each piece well with the flour mixture, allowing it to stick properly.
- Use a wire rack on your baking sheet; this allows hot air to circulate all around the chicken, making it crispy on all sides.
- Don’t rush the baking process. Baking at 425°F (220°C) helps the coating crisp up nicely as the chicken cooks through.
- For an even crispier skin, drizzle or spray oil generously on the chicken before baking.
By following these tips, you’ll have chicken with a crunchy crust and juicy interior every time!
Truly Crispy Oven Fried Chicken
Ingredients:
- 8 pieces of chicken (drumsticks, thighs, or breast strips)
- 2 cups buttermilk
- 2 cups all-purpose flour
- 1 teaspoon baking powder
- 1 tablespoon paprika
- 1 teaspoon garlic powder
- 1 teaspoon onion powder
- 1 teaspoon cayenne pepper (optional for heat)
- 1 teaspoon salt
- 1 teaspoon black pepper
- 1 teaspoon dried oregano or thyme (optional)
- Cooking spray or oil for drizzling
How Much Time Will You Need?
This recipe requires about 15 minutes of preparation time, plus at least 4 hours for marinating (ideally overnight for the best flavor). Baking takes approximately 35-45 minutes, making the total time around 5 to 6 hours, which includes marination. Perfect for planning ahead!
Step-by-Step Instructions:
1. Marinate the Chicken:
Start by placing the chicken pieces in a large bowl or a ziplock bag. Pour the buttermilk over the chicken, making sure all pieces are nicely coated. Cover the bowl or seal the bag and pop it in the fridge for at least 4 hours, or overnight if you can. This is the secret step that keeps the chicken tender and juicy!
2. Prepare the Coating:
In a shallow dish or large bowl, mix together the flour, baking powder, paprika, garlic powder, onion powder, cayenne pepper, salt, black pepper, and oregano or thyme if you’re using it. Stir everything together until well combined. This will give your chicken a flavorful and crispy crust!
3. Preheat Oven and Prepare Pan:
While the chicken is marinating, preheat your oven to 425°F (220°C). Line a baking sheet with a wire rack and lightly spray or grease the rack to prevent sticking. The wire rack is key because it allows heat to circulate around the chicken, helping it to become crispy all over.
4. Coat the Chicken:
Once the chicken has marinated, take it out of the buttermilk and let the excess drip off. Dredge each piece thoroughly in the seasoned flour mixture, pressing gently to help the coating stick well. Do this for all the chicken pieces until they are fully coated.
5. Arrange and Oil Chicken:
Place the coated chicken pieces on the wire rack. Make sure they are spaced evenly apart. Lightly spray or drizzle a bit of oil over the chicken to encourage that beautiful golden-brown color as it bakes.
6. Bake:
Now it’s time to bake! Slide the baking sheet in the preheated oven and bake for about 35-45 minutes. About halfway through, turn the chicken pieces over to ensure even crispness. The chicken is done when it reaches an internal temperature of 165°F (74°C) and the crust is golden and crunchy.
7. Rest and Serve:
Once it’s out of the oven, let the chicken rest for a few minutes before serving. This resting time helps the juices redistribute, keeping your chicken moist and delicious. Enjoy your homemade crispy oven-fried chicken!
With this recipe, you’ll have crispy, juicy chicken that tastes indulgent without the mess of frying! Perfect for family dinners or gatherings. Enjoy!
Can I Use Other Types of Chicken?
Absolutely! This recipe works well with any chicken cuts you prefer, including wings, thighs, or even boneless breasts. Just adjust your cooking time based on the size and thickness of the pieces.
What If I Don’t Have Buttermilk?
No worries! You can make a quick substitution by mixing 1 cup of milk with 1 tablespoon of vinegar or lemon juice. Let it sit for about 5-10 minutes until it thickens slightly, and you’ll have a homemade buttermilk alternative.
How Do I Store Leftover Chicken?
Store any leftover chicken in an airtight container in the refrigerator for up to 3 days. To keep the crust crispy, you may want to reheat it in the oven instead of the microwave, which can make it soggy.
Can I Freeze the Chicken After Cooking?
Yes, you can freeze the cooked chicken! Allow it to cool completely, then wrap each piece tightly in plastic wrap and place them in a freezer-safe bag. It will stay good for about 2-3 months. Reheat directly from the freezer in the oven for the best results!