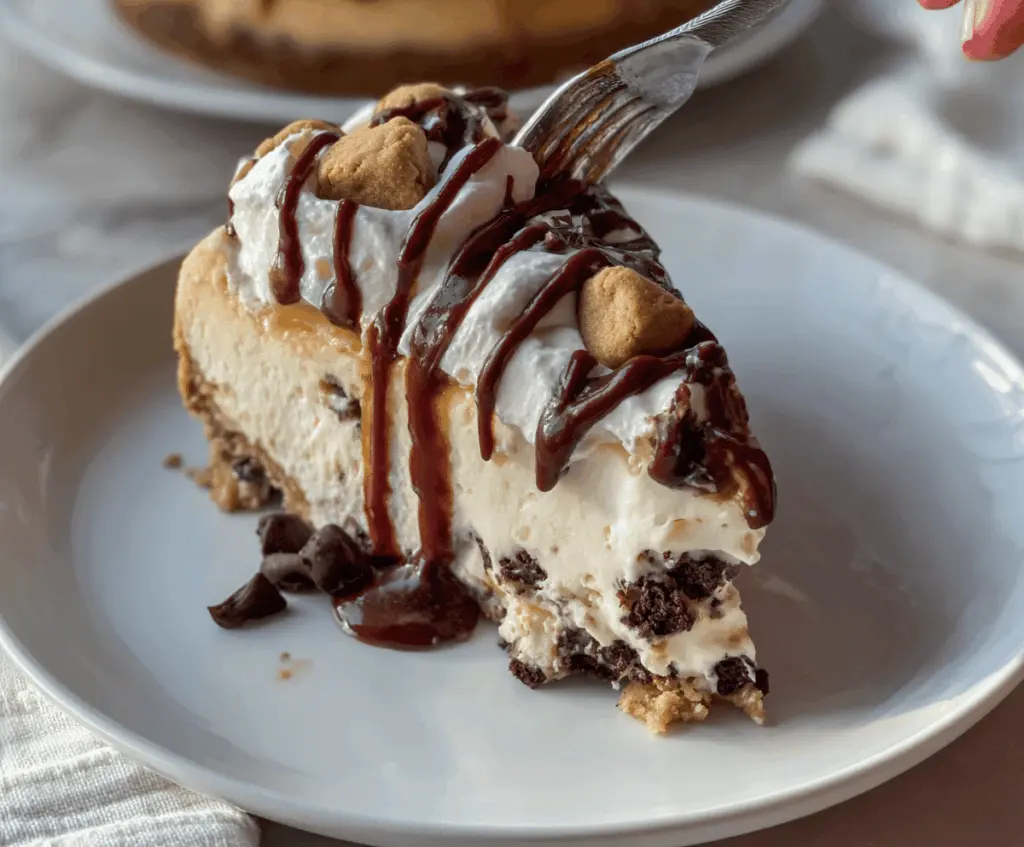
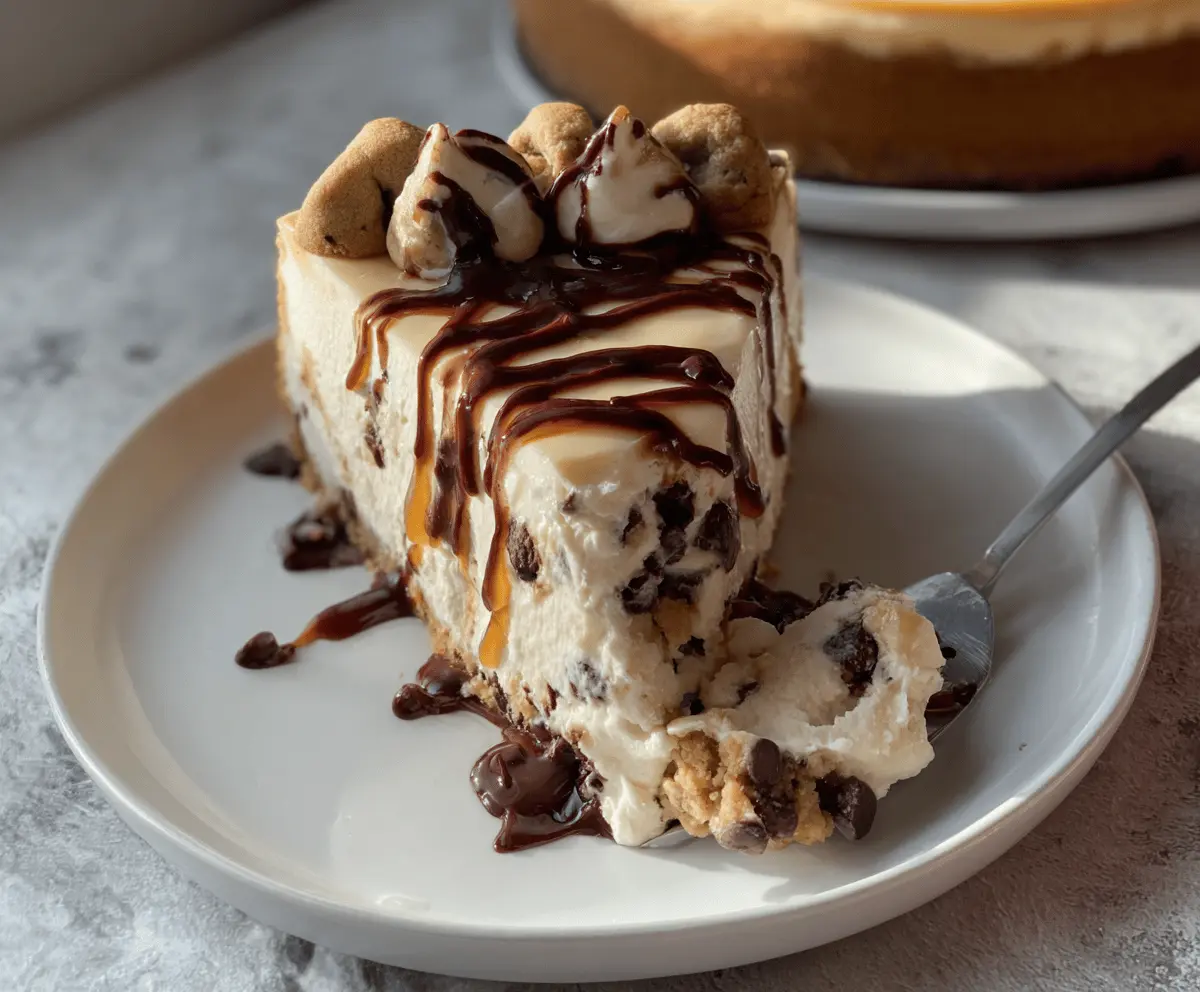
This Cookie Dough Cheesecake is a delightful mix of sweet cream cheese and yummy cookie dough bits. The crunchy crust makes every bite a treat!
Honestly, who can resist cookie dough? It’s like having dessert and a treat all in one! I love serving this cheesecake with some chocolate sauce drizzled on top—so good!
Key Ingredients & Substitutions
Graham Cracker Crumbs: These make a perfect base for your cheesecake. If you want a gluten-free option, try using crushed gluten-free cookies or almond flour instead!
Unsalted Butter: I always use unsalted to control the salt level. If you’re looking for a dairy-free option, coconut oil or a dairy-free butter can work just as well!
Edible Cookie Dough: This cookie dough is safe to eat since we use heat-treated flour. If you can’t find heat-treated flour, you can bake the flour at 350°F for about 5 minutes to kill off any bacteria, then let it cool.
Cream Cheese: Make sure it’s softened to get a smooth filling. You can use Neufchâtel cheese for a lighter option or even mascarpone for a richer taste!
How Do I Whip Cream Properly for the Cheesecake Filling?
Whipping cream is crucial for a light and airy cheesecake. Follow these steps for best results:
- Start with chilled heavy cream; this helps it whip faster. Use a bowl and beaters that are also cold.
- Beat the cream on medium speed until it starts to thicken, then increase to high speed.
- Look for stiff peaks, meaning the cream holds its shape well when you lift the beaters out of the bowl.
- Gently fold the whipped cream into the cream cheese mixture. This keeps the air in, making your cheesecake fluffy!
With these tips, you’ll have a deliciously creamy and delightful Cookie Dough Cheesecake that everyone will love! Enjoy making it!
Cookie Dough Cheesecake
Ingredients You’ll Need:
For the Crust:
- 1 ½ cups graham cracker crumbs or crushed digestive biscuits
- 6 tablespoons unsalted butter, melted
- 2 tablespoons granulated sugar
For the Cookie Dough Chunks:
- ½ cup unsalted butter, softened
- ⅓ cup brown sugar, packed
- ¼ cup granulated sugar
- 1 teaspoon vanilla extract
- 1 tablespoon milk
- 1 cup all-purpose flour (heat-treated or safe to eat raw)
- ½ cup mini chocolate chips
For the Cheesecake Filling:
- 24 oz (3 packages) cream cheese, softened
- 1 cup granulated sugar
- 1 teaspoon vanilla extract
- 1 cup heavy cream (or whipping cream)
- 1 ½ cups crushed chocolate cookies (like Oreos), roughly chopped
For Topping:
- Whipped cream
- Additional mini cookie dough pieces for garnish
- Chocolate sauce for drizzling
How Much Time Will You Need?
This delectable Cookie Dough Cheesecake requires about 30 minutes of active prep time and at least 4-6 hours to chill in the refrigerator (preferably overnight). It’s a bit of a wait, but trust me—it’s worth every minute!
Step-by-Step Instructions:
1. Prepare the Crust:
First things first, preheat your oven to 350°F (175°C). In a medium bowl, mix the graham cracker crumbs, melted butter, and sugar together until it’s all combined. Next, press this mixture firmly into the bottom of a 9-inch springform pan. Bake for 8-10 minutes, then let it cool completely.
2. Make the Edible Cookie Dough:
While your crust cools, let’s make the cookie dough! In a mixing bowl, cream together softened butter, brown sugar, and granulated sugar until it’s nice and smooth. Add the vanilla and milk, and give it another stir. Gradually mix in the heat-treated flour until everything is just combined. Finally, fold in those delightful mini chocolate chips and set this aside for later.
3. Prepare the Cheesecake Filling:
In a large bowl, use an electric mixer to beat the softened cream cheese until it’s silky and creamy. Combine the sugar and vanilla extract, continuing to mix until it’s all well blended. In a separate bowl, whip the heavy cream until stiff peaks form. Gently fold this whipped cream into the cream cheese mixture to keep it light and fluffy!
4. Add Mix-Ins to the Cheesecake Filling:
Now, gently fold in the crushed chocolate cookies and around half of the cookie dough chunks into your cheesecake batter. This will give it that delicious cookie dough flavor throughout!
5. Assemble and Chill:
Pour the cheesecake filling over your cooled crust in the springform pan, smoothing the top gently. Cover it and pop it into the refrigerator for at least 4-6 hours or (even better) overnight for full set-up time. No baking is needed here!
6. Decorate and Serve:
Once it’s set, it’s time to make it pretty! Spread or pipe some whipped cream on top of the cheesecake layer. Add the remaining cookie dough pieces as a garnish and drizzle your delightful chocolate sauce over the top. Slice with a warm knife for clean cuts, and get ready to indulge!
Enjoy this rich, creamy Cookie Dough Cheesecake—it’s a sweet treat that cookie dough lovers will absolutely adore!
Can I Use Store-Bought Cookie Dough Instead of Making It?
Absolutely! Store-bought cookie dough is a convenient alternative. Just make sure to cut it into small chunks before folding it into the cheesecake filling so it distributes evenly!
Can I Make This Cheesecake Gluten-Free?
Yes! Substitute graham cracker crumbs with gluten-free graham crackers or use crushed gluten-free cookies for the crust. Just ensure all other ingredients, like chocolate chips and cookies, are also gluten-free.
How Should I Store Leftover Cheesecake?
Store any leftovers in an airtight container in the refrigerator for up to 3-4 days. To help maintain the creamy texture, it’s best to cover it lightly rather than tightly.
Can I Freeze the Cheesecake?
Yes! You can freeze slices of cheesecake for up to 2 months. Wrap each slice tightly in plastic wrap and foil to prevent freezer burn. Thaw in the fridge before serving for the best taste and texture.