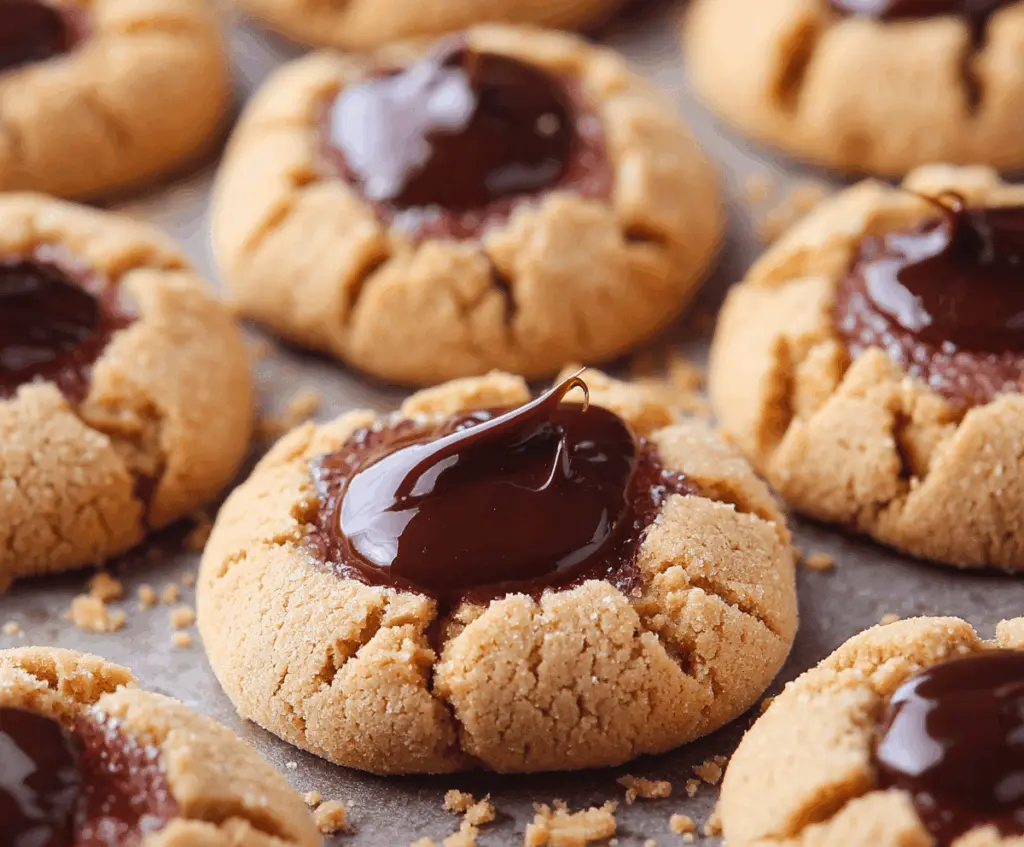
These Peanut Butter Thumbprint Cookies are soft, chewy, and oh-so-delicious! Each cookie has a lovely dollop of jam in the center that adds a burst of sweetness.
What I love most is how easy they are to make—just mix, shape, and bake! Plus, they’re perfect for sharing with friends or enjoying with a glass of milk. Yum! 🥛
Key Ingredients & Substitutions
Peanut Butter: Creamy peanut butter is ideal for these cookies, but if you prefer crunch, go for crunchy peanut butter. You can also use almond butter or sunbutter for a nut-free version.
Sugars: The mix of granulated and brown sugar brings moisture and sweetness. If you’re looking for lower sugar options, try coconut sugar or a sugar substitute like Stevia, adjusting the amount accordingly.
Chocolate: Semi-sweet chocolate chips are great, but dark chocolate can add a richer flavor. If you want a dairy-free option, use dairy-free chocolate chips or melted cacao.
Flour: All-purpose flour is perfect, but if you’re gluten-free, almond flour or a gluten-free baking blend can work. Just remember, the texture might change a bit!
How Can You Ensure Your Cookies Don’t Spread Too Much?
To keep your peanut butter thumbprint cookies from spreading too much during baking, there are some key steps you can follow:
- Make sure your dough is well-chilled before baking; refrigerate for at least 30 minutes if possible.
- Avoid over-mixing when you combine the flour with the peanut butter mixture. Just mix until well combined.
- Roll the dough balls and keep them compact. This helps them maintain their shape in the oven.
These small tweaks will help your cookies achieve that perfect, slightly puffed look with a delicious thumbprint center!
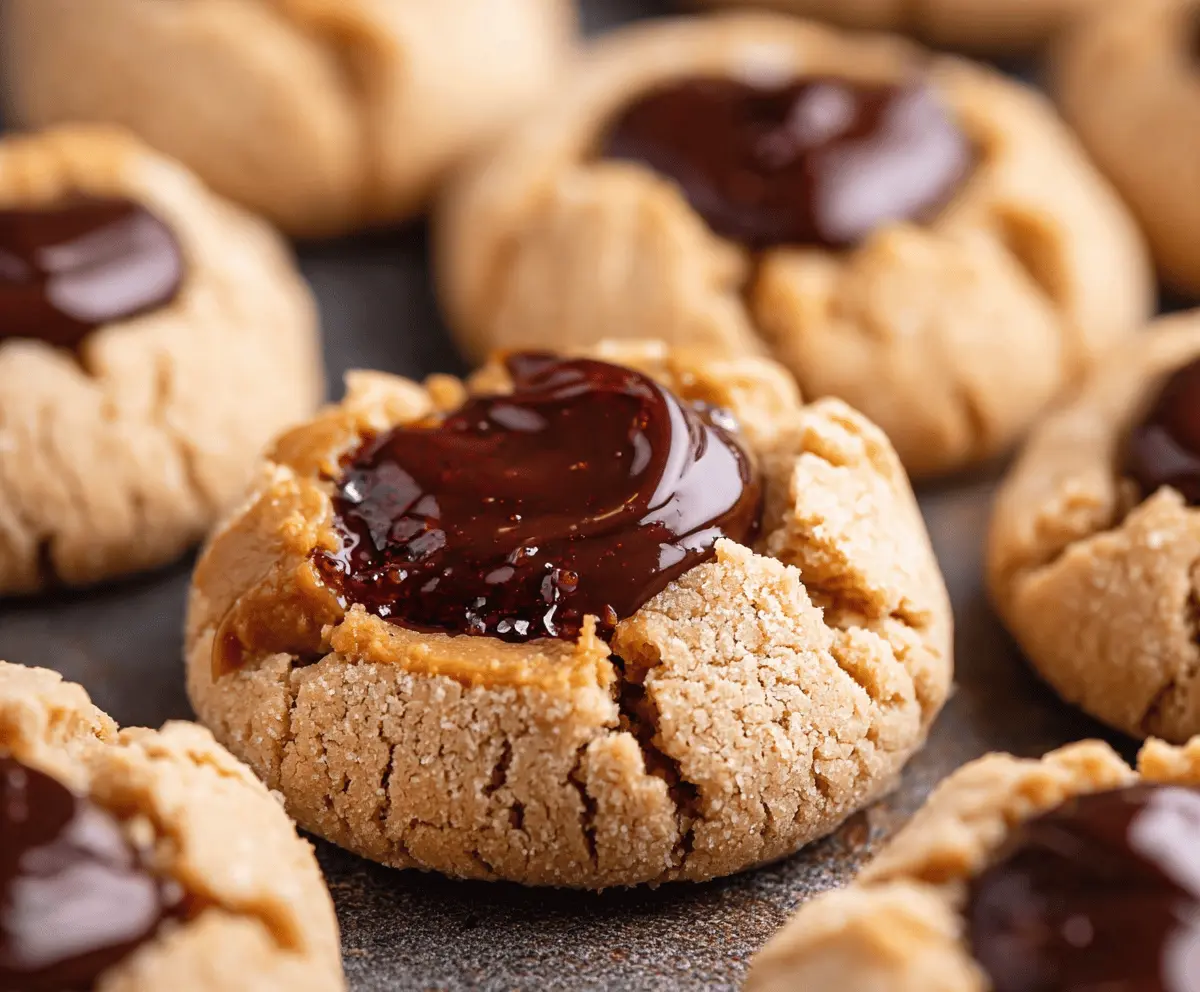
Peanut Butter Thumbprint Cookies with Chocolate Filling
Ingredients You’ll Need:
For the Cookie Dough:
- 1 cup creamy peanut butter (natural or regular)
- 1/2 cup granulated sugar
- 1/2 cup packed brown sugar
- 1 large egg
- 1 teaspoon vanilla extract
- 1 cup all-purpose flour
- 1/2 teaspoon baking soda
- 1/4 teaspoon salt
For the Chocolate Filling:
- 1/2 cup semi-sweet chocolate chips or chopped chocolate
- 1 tablespoon heavy cream or milk (to help melt the chocolate)
Optional:
- Granulated sugar (for rolling the dough balls)
Time Needed:
This recipe takes about 15 minutes for preparation and an additional 10-12 minutes for baking. Make sure to allow time for the cookies to cool completely, which may take another 30 minutes. Total time is around 1 hour, but it’s mostly hands-off while the cookies are baking!
Step-by-Step Instructions:
1. Preheat and Prepare:
Start by preheating your oven to 350°F (175°C). While that’s heating up, line a baking sheet with parchment paper or a silicone baking mat. This will help prevent the cookies from sticking.
2. Mix the Wet Ingredients:
In a large bowl, combine the creamy peanut butter, granulated sugar, brown sugar, egg, and vanilla extract. Use a spoon or mixer to mix everything together until it’s smooth and well combined. It should be thick and creamy!
3. Combine the Dry Ingredients:
In another bowl, whisk together the all-purpose flour, baking soda, and salt. This helps to ensure the baking soda is evenly distributed, which is important for good rising in the cookies.
4. Combine Both Mixtures:
Gradually add the dry mixture to the peanut butter mixture. Stir until just combined. Be careful not to over-mix, as this can make the cookies tough. You should have a nice, thick dough.
5. Shape the Cookies:
If you want a little crunch outside, roll the dough into tablespoon-sized balls and then roll each ball in granulated sugar. This step is optional but adds a nice touch!
6. Bake the Cookies:
Place the dough balls on your prepared baking sheet, spacing them about 2 inches apart. Bake in your preheated oven for 10-12 minutes. The cookies should be set and starting to crack around the edges.
7. Create the Thumbprint:
Once they’re out of the oven, gently press the back of a teaspoon (or your thumb if you prefer!) into the center of each cookie to create a well. Make sure not to press all the way through.
8. Melt Chocolate for Filling:
While the cookies cool for a bit, melt the chocolate chips and heavy cream together in a microwave-safe bowl. Heat in 20-second increments, stirring in between until smooth and creamy. Be careful not to overheat!
9. Fill the Thumbprints:
Once your chocolate is melted, spoon or pipe it into each thumbprint well you created earlier. This will give your cookies that delicious chocolate filling.
10. Cool and Enjoy:
Allow the cookies to cool completely on the baking sheet so that the chocolate can set. Once cooled, they’re ready to be enjoyed! Serve with a glass of milk or your favorite beverage.
These peanut butter thumbprint cookies with a chocolate center are a delightful treat with a perfect balance of flavors. Enjoy baking and indulging in these yummy cookies!
Can I Use Natural Peanut Butter for This Recipe?
Yes, natural peanut butter works well! Just ensure it’s thoroughly mixed before using, as the oil can separate. You may want to adjust the texture slightly by adding a pinch more flour if the dough seems too runny.
Can I Use Different Fillings Instead of Chocolate?
Absolutely! You can use fruit jams, such as raspberry or strawberry, or even caramel for a different flavor. Just make sure the filling’s consistency is thick enough to hold its shape in the thumbprint.
How Do I Store Leftover Cookies?
Store leftover cookies in an airtight container at room temperature for up to 5 days. If you want to keep them longer, you can freeze the cookies for up to 3 months. Just make sure to thaw them at room temperature before enjoying!
What Should I Do If My Dough Is Too Sticky?
If you find your dough is too sticky to handle, try refrigerating it for about 30 minutes. This will firm it up and make it easier to shape into balls. You can also sprinkle a little more flour as needed when rolling them.