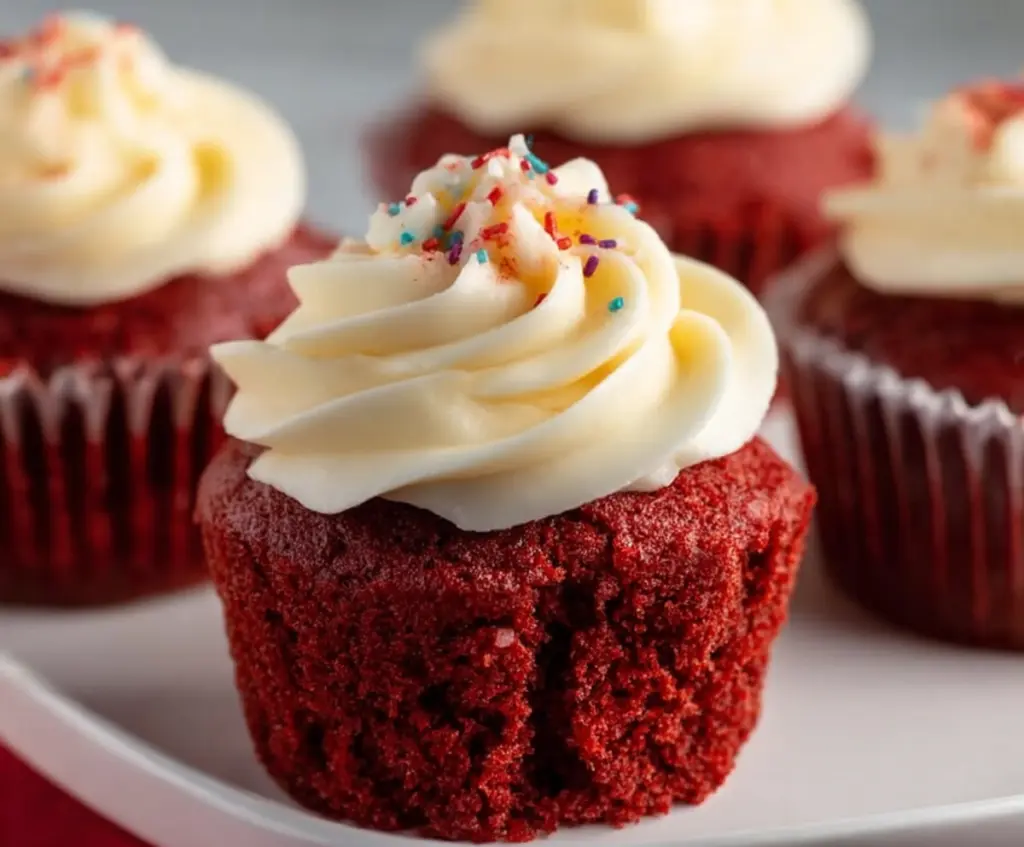
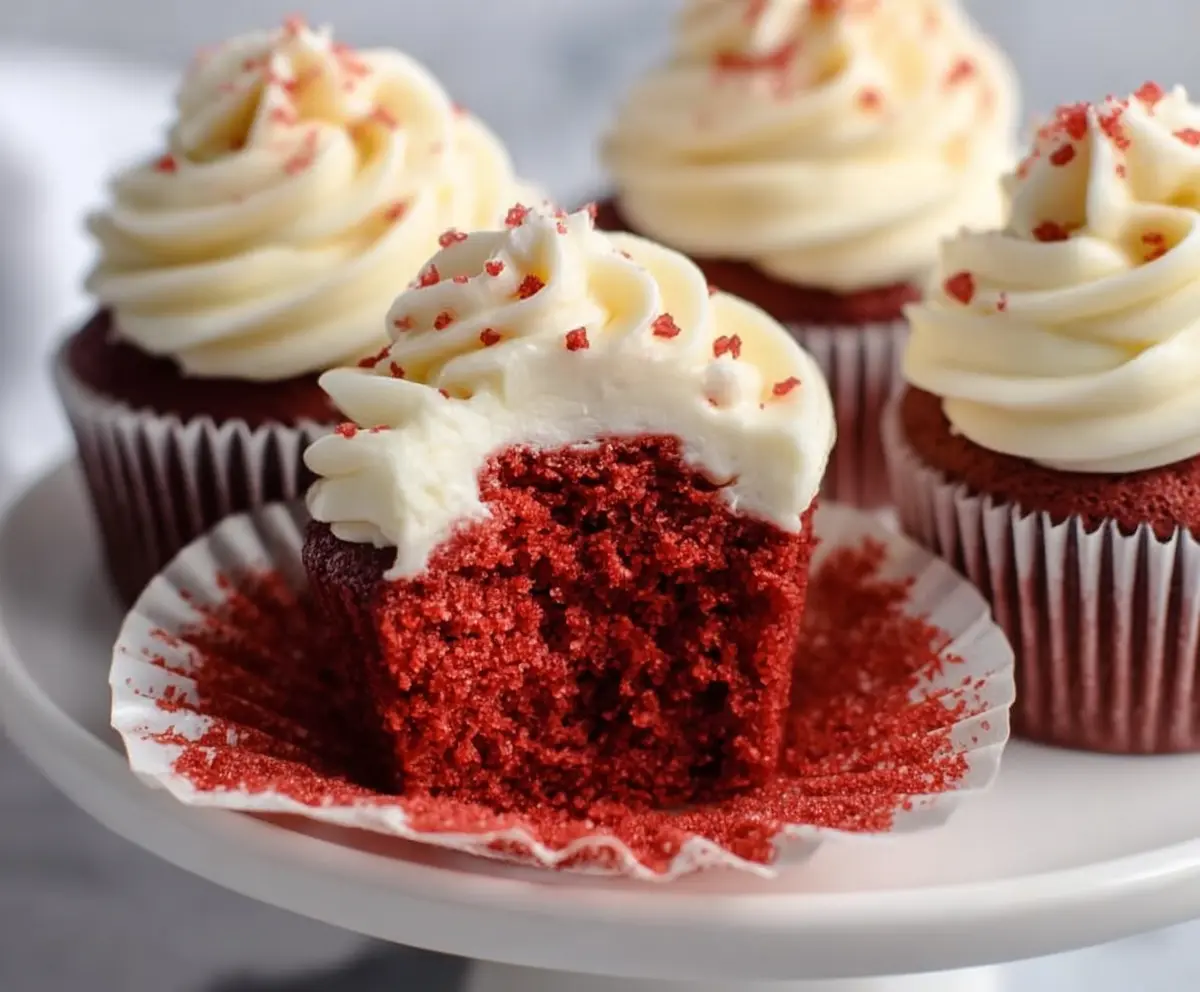
These Small Batch Red Velvet Cupcakes are fluffy, soft, and dressed in bright red. With a lovely cream cheese frosting on top, they are perfect for any small celebration!
Honestly, who can resist the combo of chocolatey goodness and creamy frosting? I love making just a few so I can enjoy them all week—well, if they last that long! 😄
Key Ingredients & Substitutions
All-Purpose Flour: This is the base for the cupcakes. If you need a gluten-free option, consider using a 1:1 gluten-free flour blend. It can yield similar texture and taste without gluten.
Buttermilk: Buttermilk adds moisture and a slight tang. If you don’t have any, mix 1/4 cup of milk with 1/2 tablespoon of vinegar or lemon juice, let it sit for five minutes, and voila! You’ve got a quick substitute.
Vegetable Oil: This keeps the cupcakes moist. You can swap it with melted coconut oil for a hint of flavor or use melted butter if you prefer that taste. Both options work well!
Red Food Coloring: While the classic red taste comes from the food coloring, if you’re avoiding artificial dyes, you can use beet juice for a natural color. Just keep in mind it may alter the flavor a bit.
Cream Cheese: The base for the frosting. If you prefer a lighter option, try Greek yogurt or a dairy-free cream cheese substitute. Both will still give that creamy texture but with different tastes.
How Do You Ensure Perfectly Moist Cupcakes?
The secret to moist and fluffy red velvet cupcakes lies in a few key techniques. First and foremost, don’t overmix once you combine wet and dry ingredients. Mixing too much can lead to dense cupcakes.
- Combine ingredients just until uniform; lumps are okay!
- Measuring accurately is crucial. Use a kitchen scale for the flour and sugar, or spoon and level for best results.
- Let the cupcakes cool completely before frosting. This prevents the frosting from melting and helps maintain that lovely creaminess.
- Baking time is essential—check for that toothpick test and keep an eye on them given your oven may vary.
Now you’re ready to bake these delightful treats! Enjoy every bite of your small batch red velvet cupcakes!
Small Batch Red Velvet Cupcakes
Ingredients You’ll Need:
- For the Cupcakes:
- 1/2 cup (65g) all-purpose flour
- 1/4 cup (45g) granulated sugar
- 1 tablespoon unsweetened cocoa powder
- 1/4 teaspoon baking soda
- 1/4 teaspoon salt
- 1/4 cup (60ml) buttermilk, room temperature
- 2 tablespoons vegetable oil
- 1 large egg
- 1/2 teaspoon vanilla extract
- 1 teaspoon red food coloring
- 1/2 teaspoon white vinegar
- For the Cream Cheese Frosting:
- 4 oz (113g) cream cheese, softened
- 2 tablespoons unsalted butter, softened
- 1 cup (120g) powdered sugar, sifted
- 1/2 teaspoon vanilla extract
How Much Time Will You Need?
This delightful recipe takes about 15 minutes to prepare and 18-20 minutes to bake. After baking, your cupcakes will need to cool for about 30 minutes before you pipe on the frosting. So in total, expect to spend about 1 hour from start to finish, plus some additional cooling time. Enjoy the process!
Step-by-Step Instructions:
1. Preheat and Prepare:
First things first, preheat your oven to 350°F (175°C). Line a cupcake pan with 6 cupcake liners. This will help keep your cupcakes nice and moist!
2. Mix the Dry Ingredients:
In a medium bowl, sift together the all-purpose flour, unsweetened cocoa powder, baking soda, salt, and granulated sugar. This helps to aerate the flour and ensures your cupcakes are light and fluffy.
3. Combine the Wet Ingredients:
In another bowl, whisk together the egg. Then add the buttermilk, vegetable oil, vanilla extract, red food coloring, and white vinegar. Mix everything together well. The vinegar will react with the baking soda later, making your cupcakes rise beautifully!
4. Combine and Mix:
Gradually add the wet ingredients to the dry ingredients, stirring gently. Just mix until everything is combined—don’t overmix! A few lumps are perfectly okay.
5. Fill the Liners:
Divide the batter evenly among your lined cupcake cups, filling each one about 2/3 full so they have room to rise.
6. Bake:
Place them in the oven and bake for about 18-20 minutes. Check for doneness by inserting a toothpick into the center of a cupcake—if it comes out clean, they’re ready!
7. Cool Down:
Once baked, remove the cupcakes from the oven and let them sit in the pan for a few minutes, then transfer them to a wire rack to cool completely. This step is important so that the frosting doesn’t melt into the warm cupcakes!
8. Make the Cream Cheese Frosting:
While the cupcakes cool, prepare the frosting. In a mixing bowl, beat together the softened cream cheese and butter until smooth and creamy. Gradually add the sifted powdered sugar and vanilla extract, mixing until fluffy and smooth. This will give you a rich frosting that pairs perfectly with the red velvet!
9. Frost Your Cupcakes:
Once the cupcakes are completely cool, either pipe or spread the cream cheese frosting generously over each one. Don’t forget to sprinkle some colorful sprinkles on top for an extra festive touch!
10. Serve and Enjoy!
Your small batch of red velvet cupcakes is ready to be enjoyed. Dive in and savor the rich, velvety flavors of these delightful treats!
Can I Use Milk Instead of Buttermilk?
Yes, you can! If you don’t have buttermilk, simply mix 1/4 cup of regular milk with 1/2 tablespoon of vinegar or lemon juice. Let it sit for about five minutes before using it in your recipe.
Can I Make These Cupcakes Ahead of Time?
Absolutely! You can bake the cupcakes in advance and store them in an airtight container at room temperature for up to 2 days or refrigerate them for up to a week. Just frost them right before serving for the best taste and texture!
How Should I Store Leftover Cupcakes?
Store any leftover cupcakes in an airtight container at room temperature for up to 2 days, or in the fridge for up to a week. If you refrigerate them, be sure to allow them to come to room temperature before enjoying to enhance their flavor.
Can I Use Different Food Coloring?
Yes, you can use gel food coloring or even natural colorants like beet juice for a healthier option. Just be aware that the intensity of the color may vary, so adjust the amount according to your preference.